Design idea · 2026-11-17
Pedicure area design for nail salons: layout, plumbing, ventilation and lighting
The pedicure row is the wettest, most powered and most inspected part of a US nail salon, and it is where most build-outs go over budget. This guide puts layout, plumbing, ventilation, waterproofing, power, hot water, lighting and sanitation in one place, in the order they need to be decided.
Salon inspiration
Images in this video

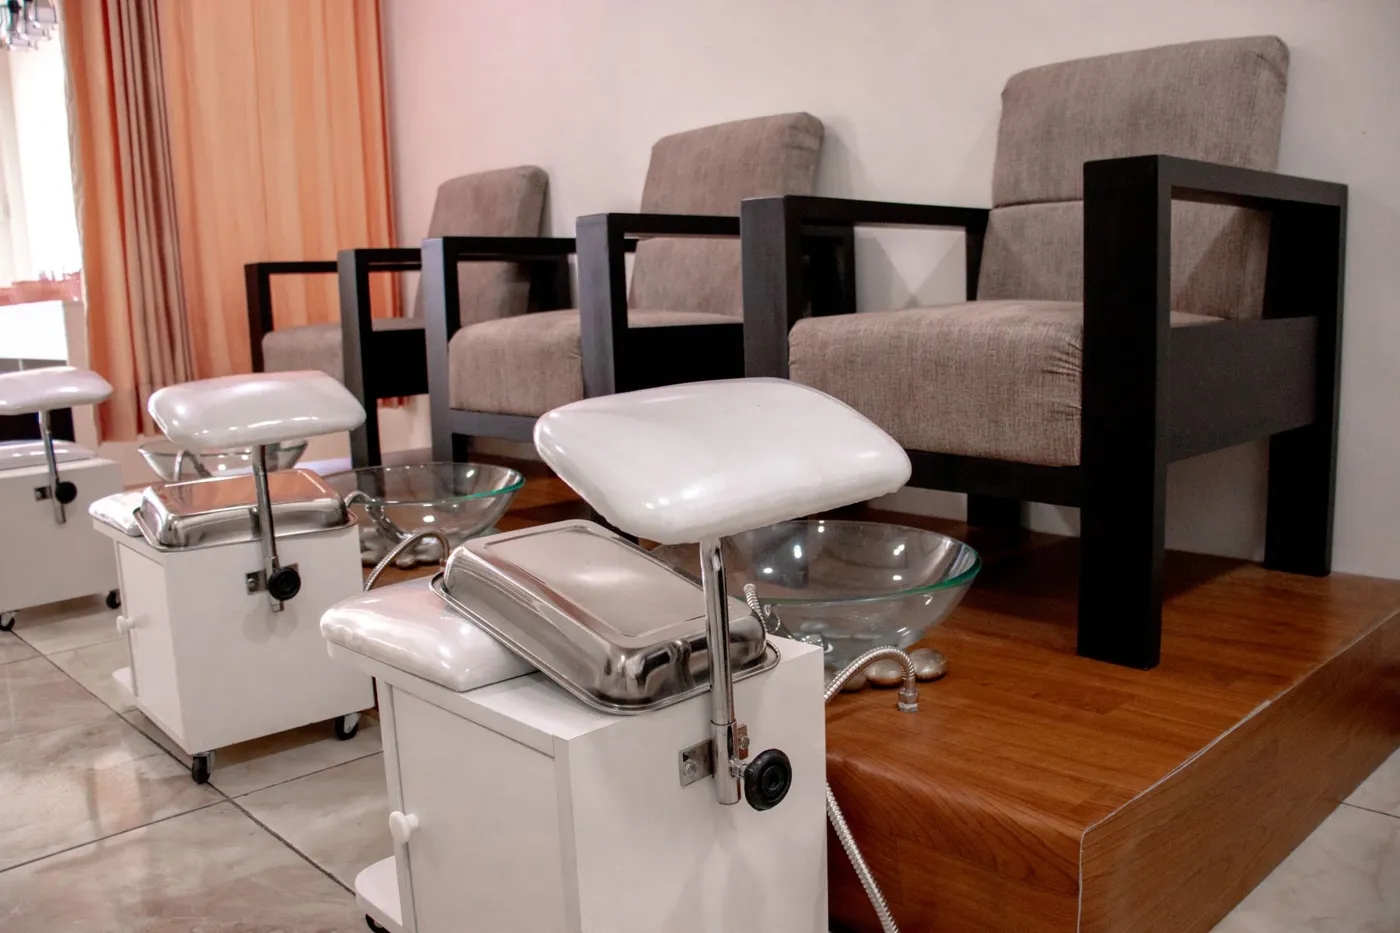
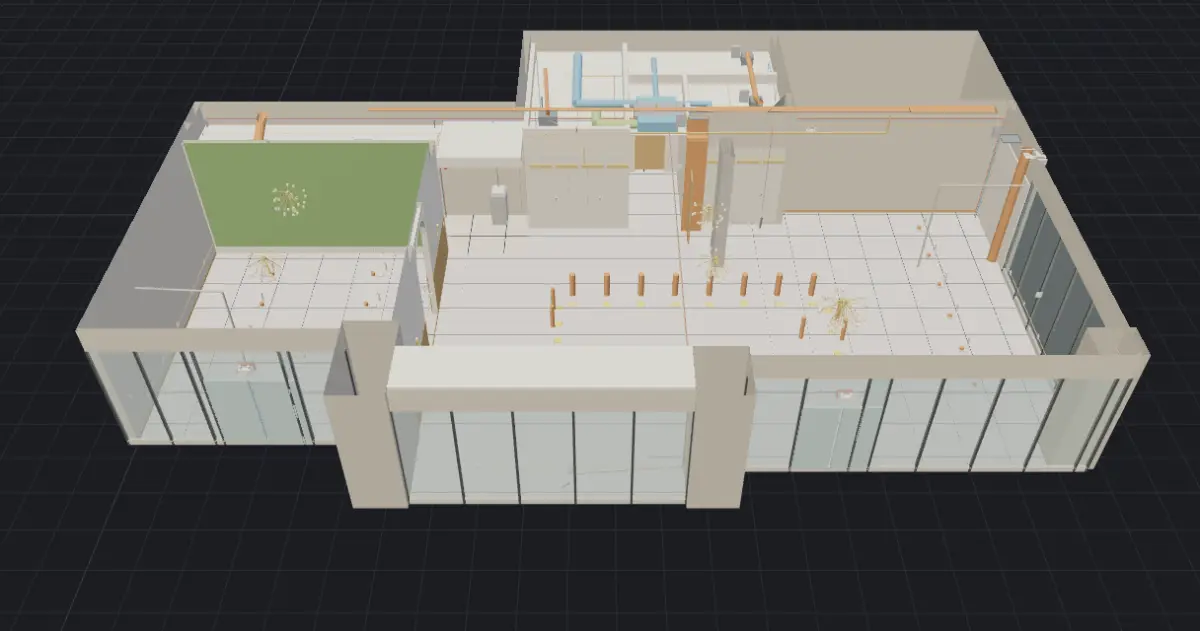
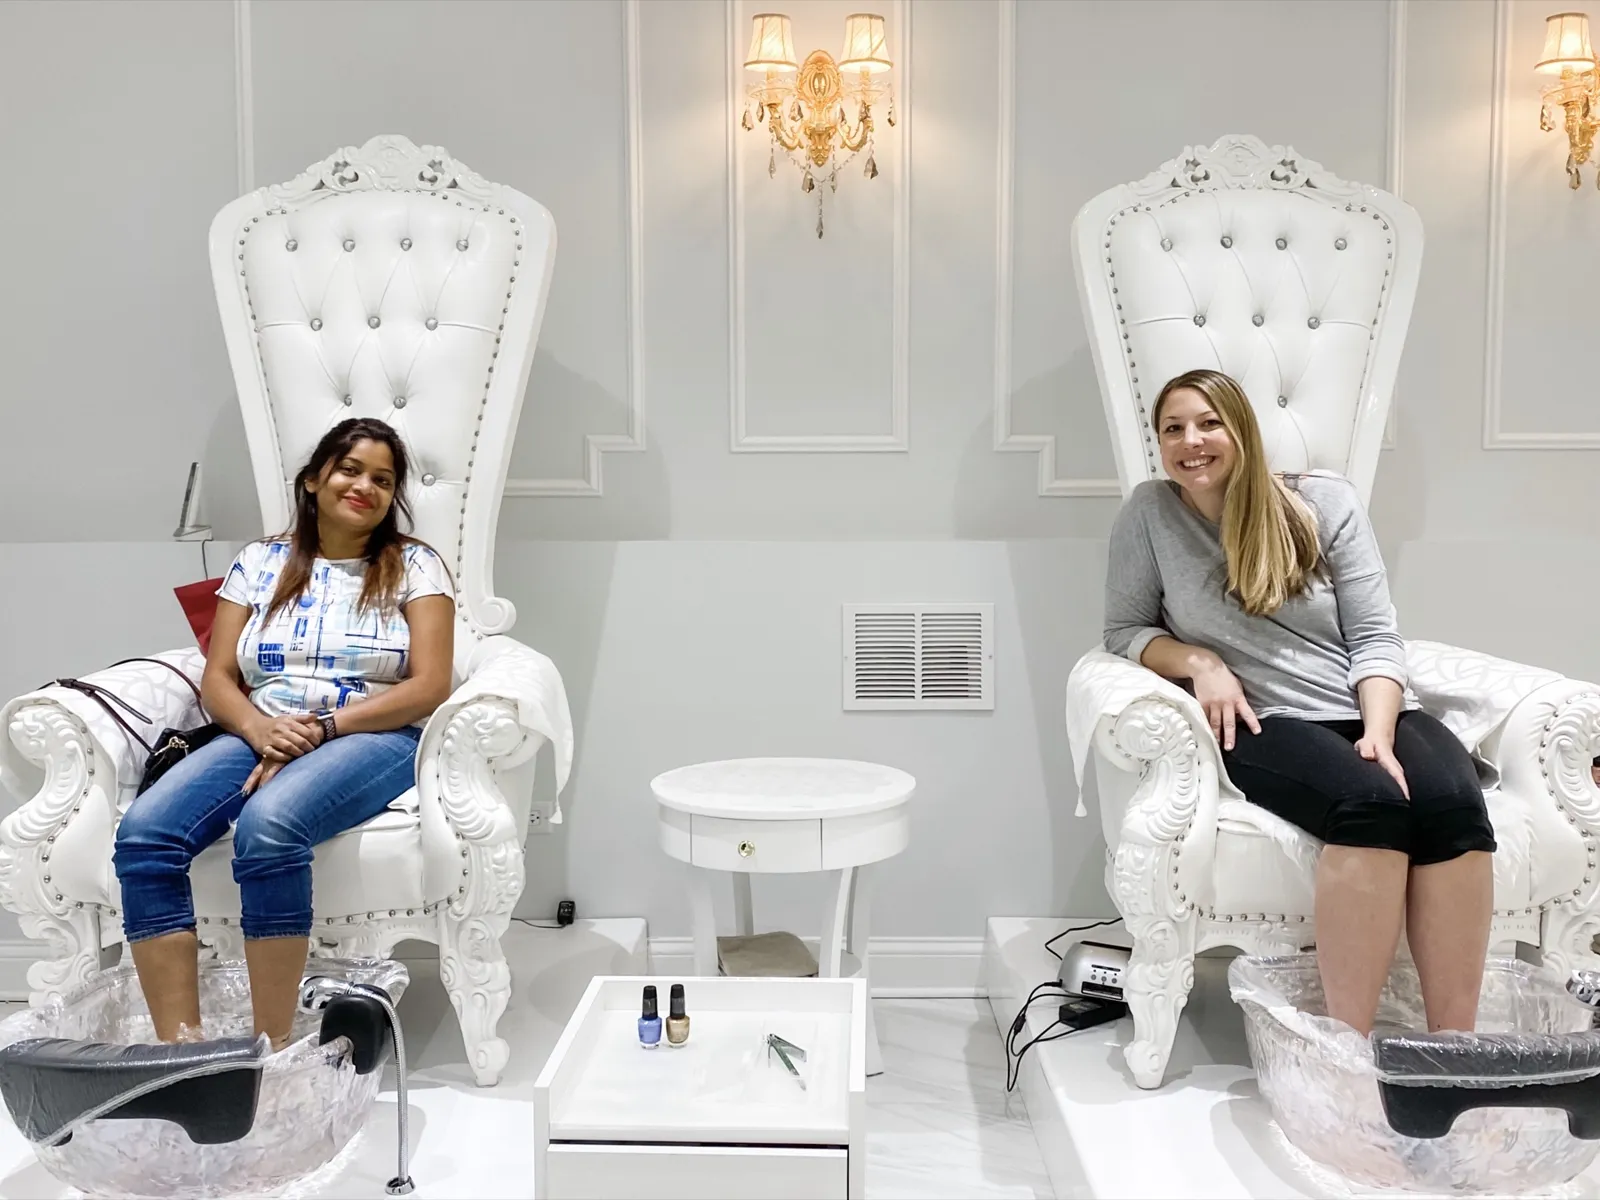

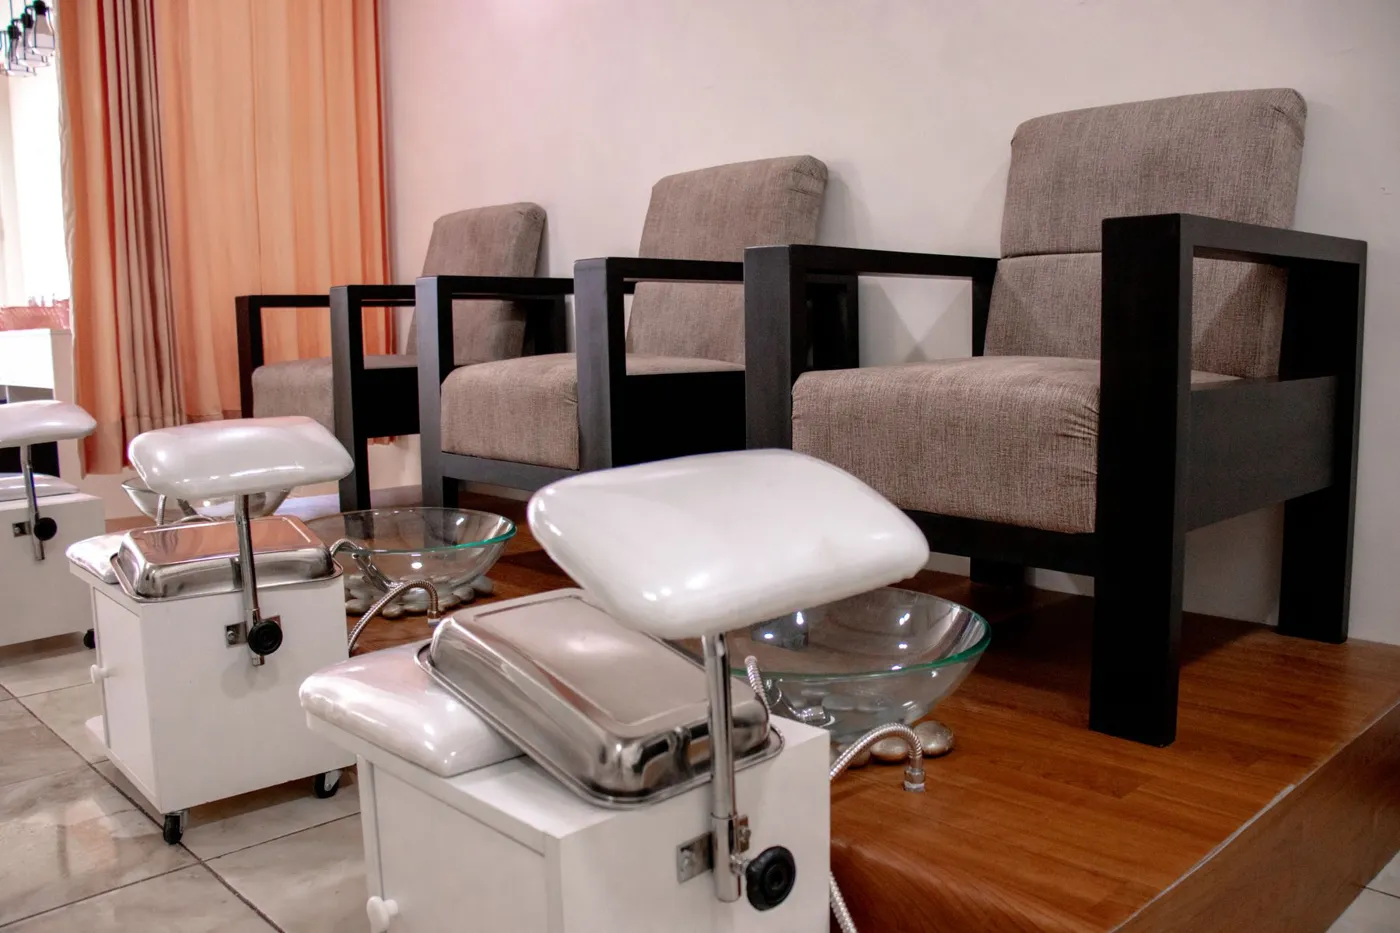

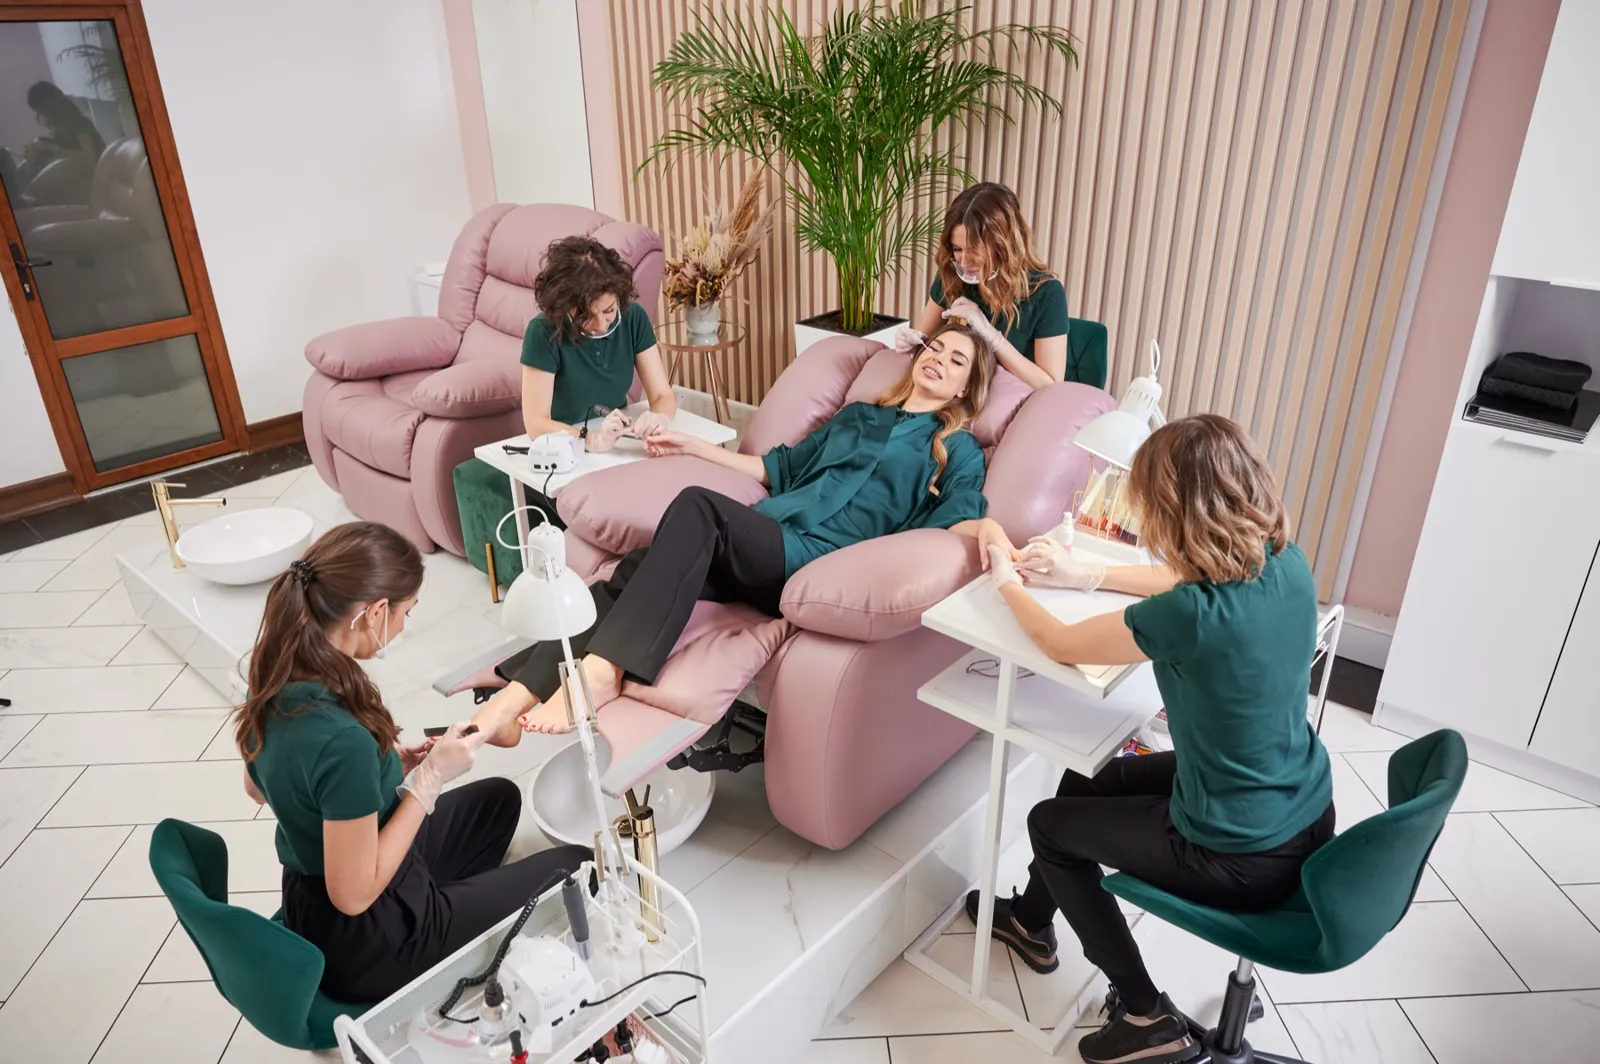

Reference images licensed from Envato Elements and Pexels, not BAT projects. Your project is designed and modeled in 3D by BAT.
BAT Build USA
Design notes
Decide the chair model first
Every other dimension depends on it. Throne chairs, sofa-style benches and private pods each have a different footprint, basin height, drain location and power requirement. Get the manufacturer's installation sheet for the exact model before the plan is drawn, because the rough-in heights for hot and cold supply, the drain and the outlet come from that sheet, not from a generic template. Changing the chair after the slab is cut usually means cutting it again.
Leave room for the technician, not just the chair
The chair width is only half the space a station needs. In front of each basin the technician needs a stool, a cart and room for knees and elbows. Behind or beside the row, plan a walkway so clients reach their seat without stepping over a technician's tools. A common mistake is to squeeze one extra chair into the row and lose comfortable working space at every station.
Group the plumbing on one run
Back-to-back rows, or a single row along one wall, keep hot and cold supply and drains on one run. That means a shorter trench in the slab, fewer joints, a simpler rough-in inspection and easier repairs later. If the row has to sit far from the existing sewer line, check the drain slope before you commit to the layout: a long run may force you to raise the floor or move the row.
Raised platform or floor level?
A platform hides the plumbing without cutting the slab and gives reclined clients a better view of the room, which is why many large salons use one. It also adds steps, edges and the need for an accessible alternative. A floor-level row costs more in slab work but is simpler to clean and easier for every client to reach. Decide early, because it changes the drain design and the ceiling height left above the chairs.
Exhaust the row, not just the room
Pedicure basins add steam and product odor at floor level. Put exhaust grilles close to the row and bring fresh make-up air in from the opposite side, so air moves across the clients instead of pooling behind the chairs. Size the exhaust together with the manicure area, because both pull from the same air system.
Waterproof everything below the basin
Use a waterproofing membrane under the tile or under the platform, turn it up the wall a few inches and finish with a cove base. Porcelain tile with a slip-resistant finish handles spills far better than wood-look vinyl at the basins. Pay attention to the joint where the platform meets the wall: that is where leaks usually start.
Power each chair on its own protected circuit
Massage pedicure chairs need GFCI-protected outlets placed where the chair manual says, usually low and behind the chair. Group them on dedicated circuits so one chair tripping does not shut down the whole row, and list them clearly on the panel schedule so the inspector and your electrician read the same plan.
Size the hot water for a full row filling at once
On a busy Saturday several basins fill at the same time. A water heater sized for that peak, or a recirculation loop on a long row, keeps clients from waiting for warm water. Ask your plumber to size the heater from the number of chairs and the basin volume, not from the square footage of the salon.
Light the feet, not the client's eyes
Clients sit reclined and look up, so avoid bare downlights directly above the headrest. Use high-CRI light around 4000K aimed at the basin and the technician's work area, with softer light at face level. Step lights and a contrasting edge make a platform safer at the end of the day.
Plan sanitation into the layout
Pipeless jets or basin liners, a nearby sink for cleaning tools and a place for disinfection logs make state board inspections easier. Rules differ by state, so check your board's current requirements before you finalize the plan.
Make at least one station easy to reach
Plan an accessible route and clear floor space for clients who cannot climb steps. If you use a platform, add a floor-level station or a ramp where code requires it, plus a handrail at the steps.
Pre-construction checklist
- Chair model and installation sheet confirmed
- Supply, drain and outlet heights marked on the plan
- Drain slope to the sewer line checked
- Platform or floor level decided
- Exhaust grilles and make-up air located
- Waterproofing membrane and cove base specified
- GFCI circuits listed on the panel schedule
- Water heater sized for peak filling
- Lighting plan with color temperature and CRI
- Accessible route and station shown
- State board sanitation requirements checked
Check it in 3D before the slab is cut
BAT models the pedicure row with the actual chairs, drains, outlets, exhaust and lighting in place, so your plumber, electrician and inspector all work from the same drawing. You see the row from the client's chair and the technician's stool before anything is built.
Images in these videos are licensed reference photos, not BAT projects; the 3D water, drain and power model clip is BAT's own work. Call +1 470-984-7776 for a free 3D design consult.
FAQ
Common questions
How much space does each pedicure station need?
It depends on the chair model. Start from the manufacturer's footprint, then add working space for the technician in front of the basin and a clear walkway behind or beside the row. BAT checks the spacing in 3D with the real chair model before the plan is finalized.
Do pedicure chairs need GFCI outlets?
Outlets near water in a salon generally need GFCI protection under the electrical code, and chair manufacturers specify where the outlet goes. Your electrician and local inspector have the final say for your jurisdiction.
Should pedicure chairs sit on a raised platform?
A platform avoids cutting the slab and looks impressive, but it adds steps and needs an accessible alternative. A floor-level row costs more in slab work and is easier to clean and reach. The right choice depends on your space, the sewer location and your budget.
Can BAT design a pedicure area for a salon outside Georgia?
Yes. BAT designs and models salons in 3D for any US state from your floor plan. Construction is managed from our office in Norcross, Georgia.